Thinking of taking on a DIY bathroom floor tiling project? We did, and I’m so glad!
While we’ve done a few different home renovation projects now (check out the cool faux brick, German schmear whitewash wall we built), this was our first floor tiling project. We are really excited about how it turned out!
That being said, we also made some mistakes along the way. Now, I’m sharing my tips to help you avoid some common bathroom floor tiling mistakes so that your project can go as smoothly as possible!
Why Tile Your Bathroom Floor
First, why should you tile your bathroom floor?
We purchased a home for sale in Kamloops, moved in right away, and have been living in the home while doing renovations. Essentially, we’ve been renovating it top-to-bottom in order to create a space that we love and increase the home’s value (and therefore, our equity).
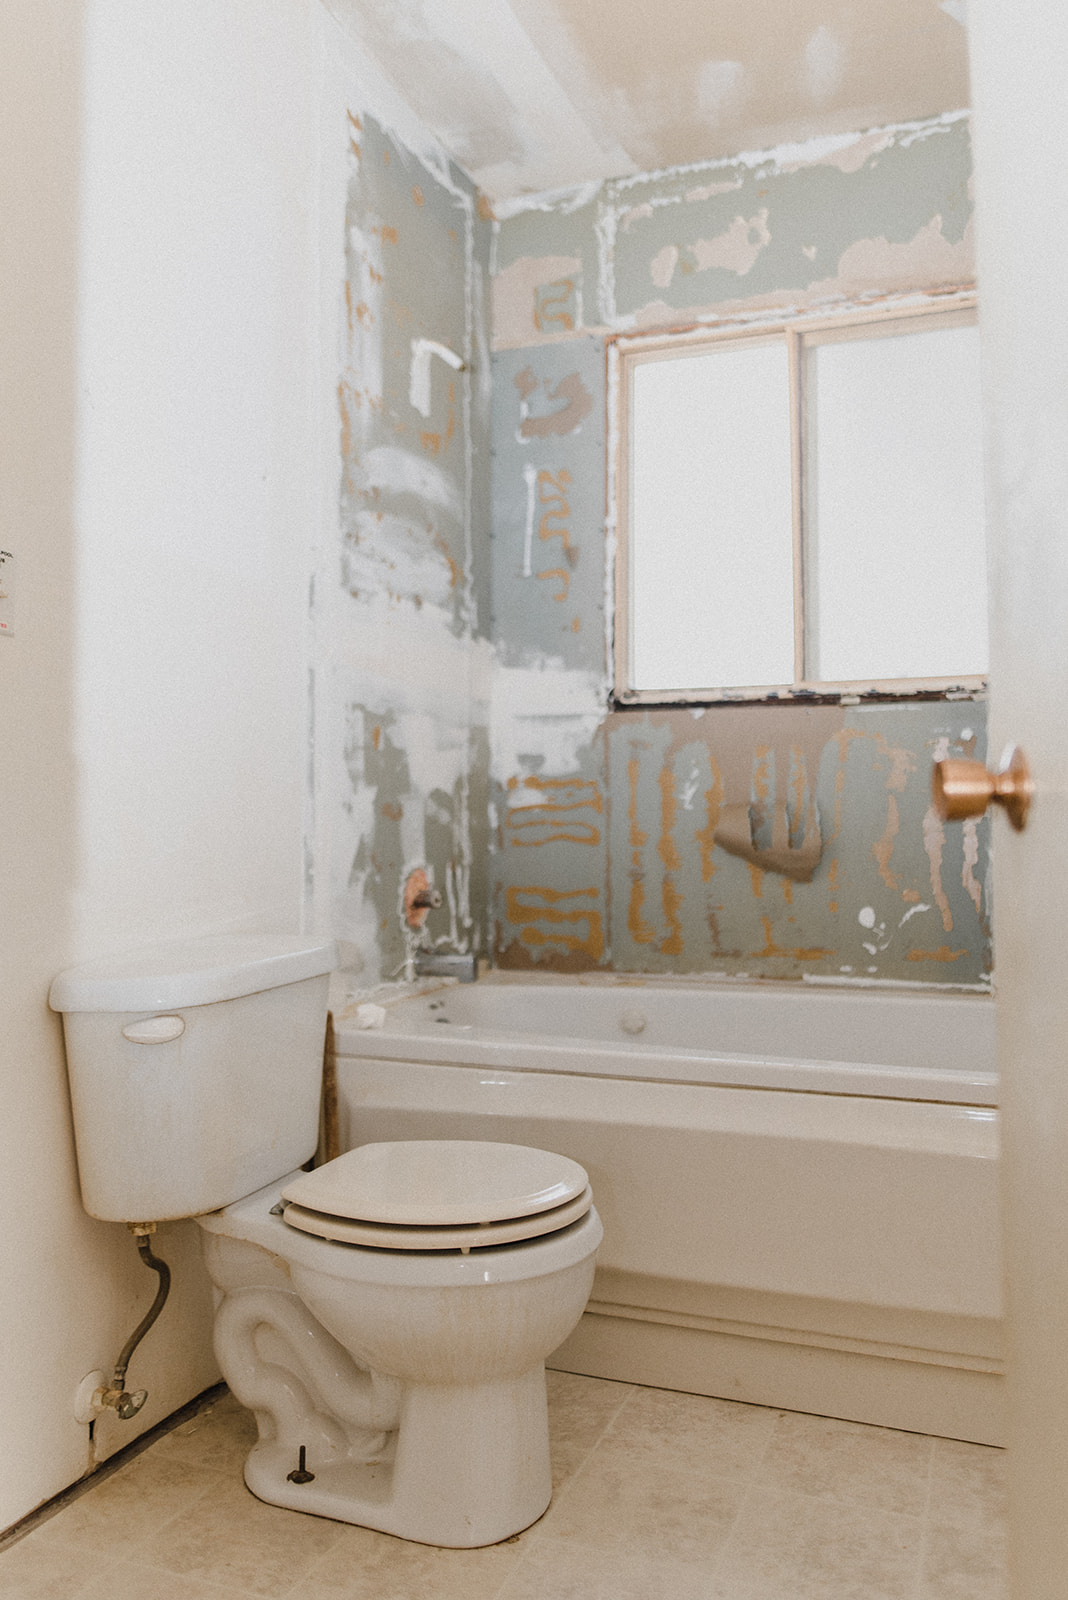
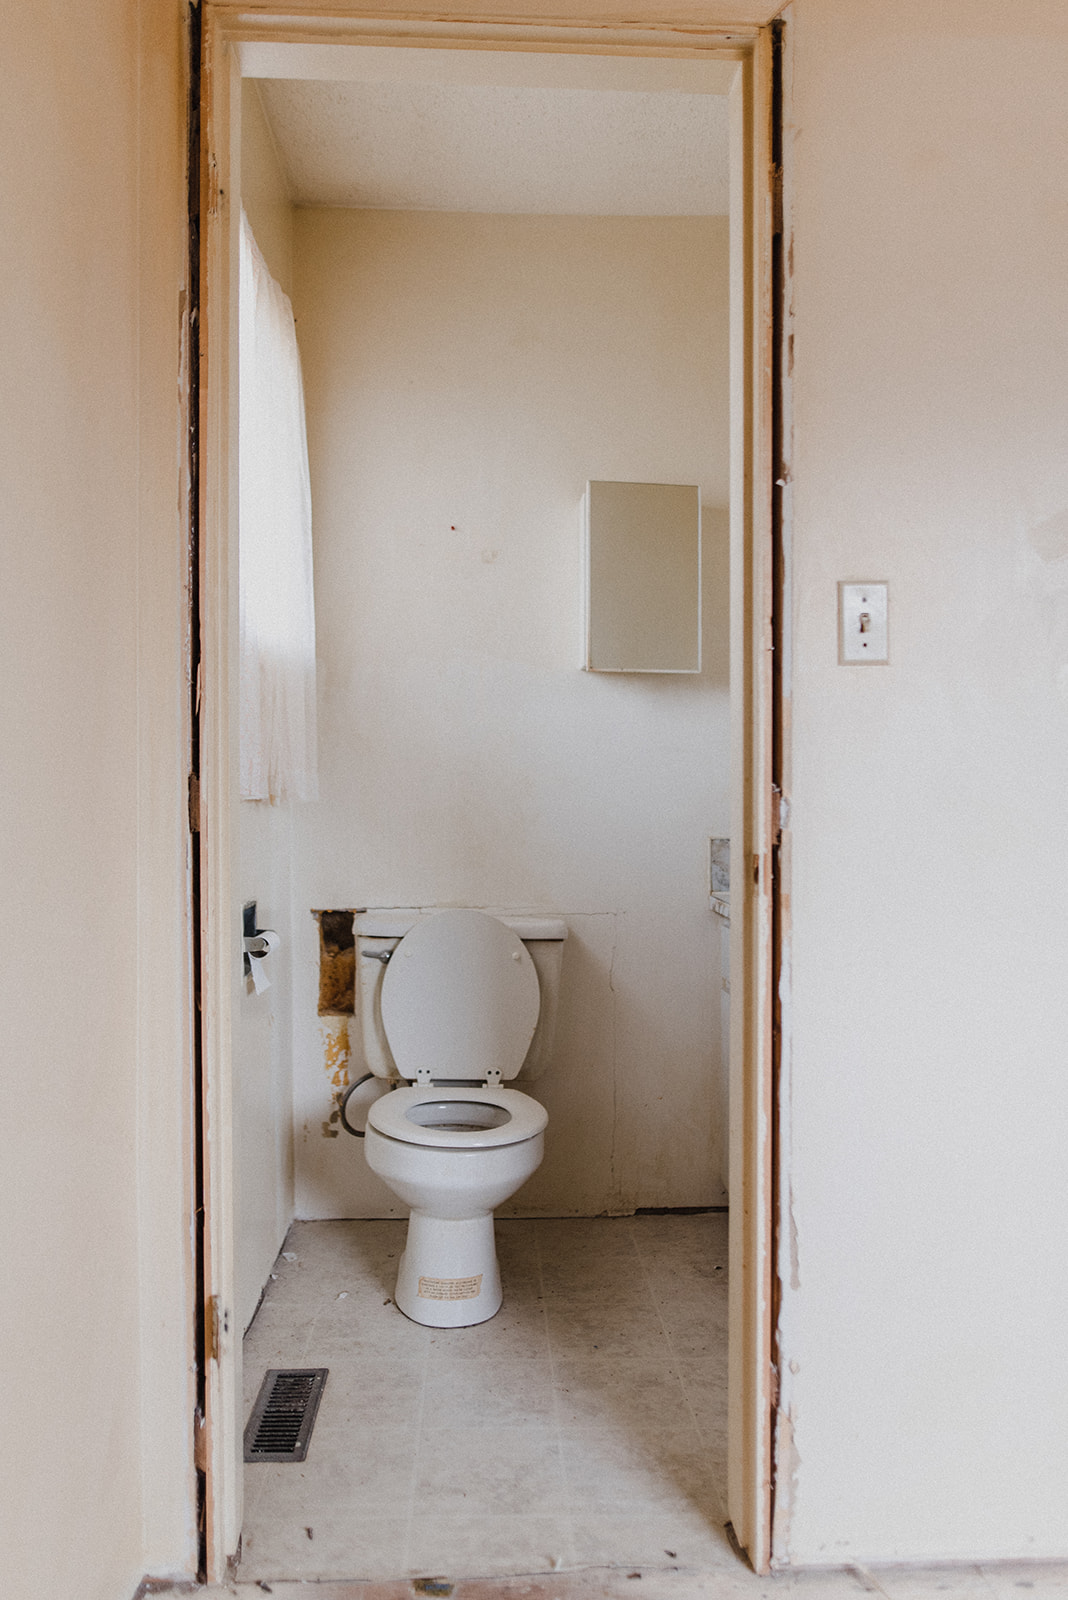
For us, retiling the bathroom floor was just a given! It was part of our plan to increase the overall appeal and value of the home. As a Kamloops REALTOR®, I’m always looking for opportunities to increase our home’s value!
On top of that, tile is durable, easy to clean, eco-friendly, water-resistant, and fairly affordable.
So, whether you’re creating a bathroom oasis at home, flipping a house, or taking your Airbnb listing to the next level, retiling might be the right choice for you.
Choosing Your Bathroom Floor Tiling
I recommend choosing your bathroom floor tiling based on quality and the overall aesthetic that you’re hoping to achieve. There are plenty of options out there including different shapes, colours, textures, and so on.
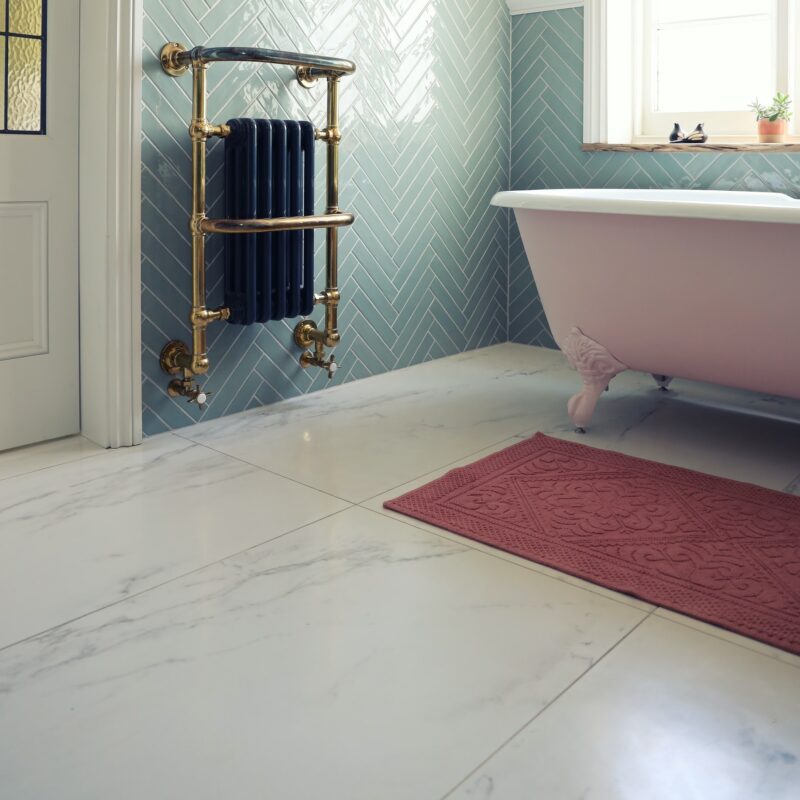

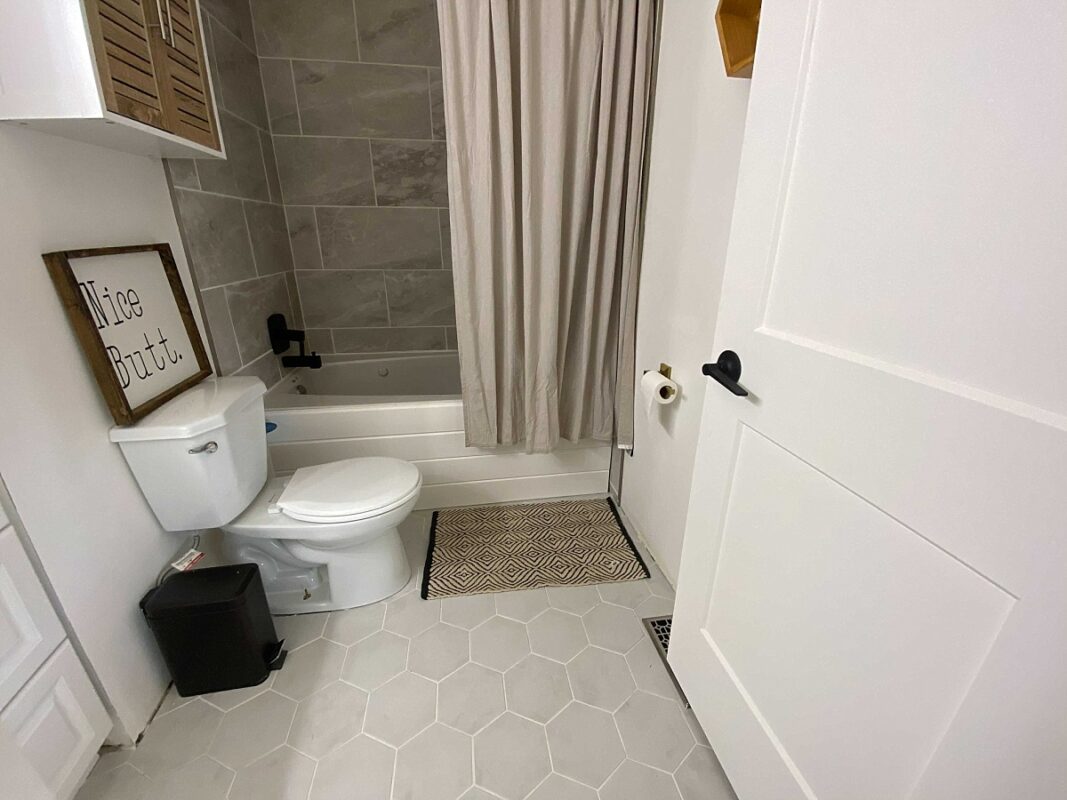
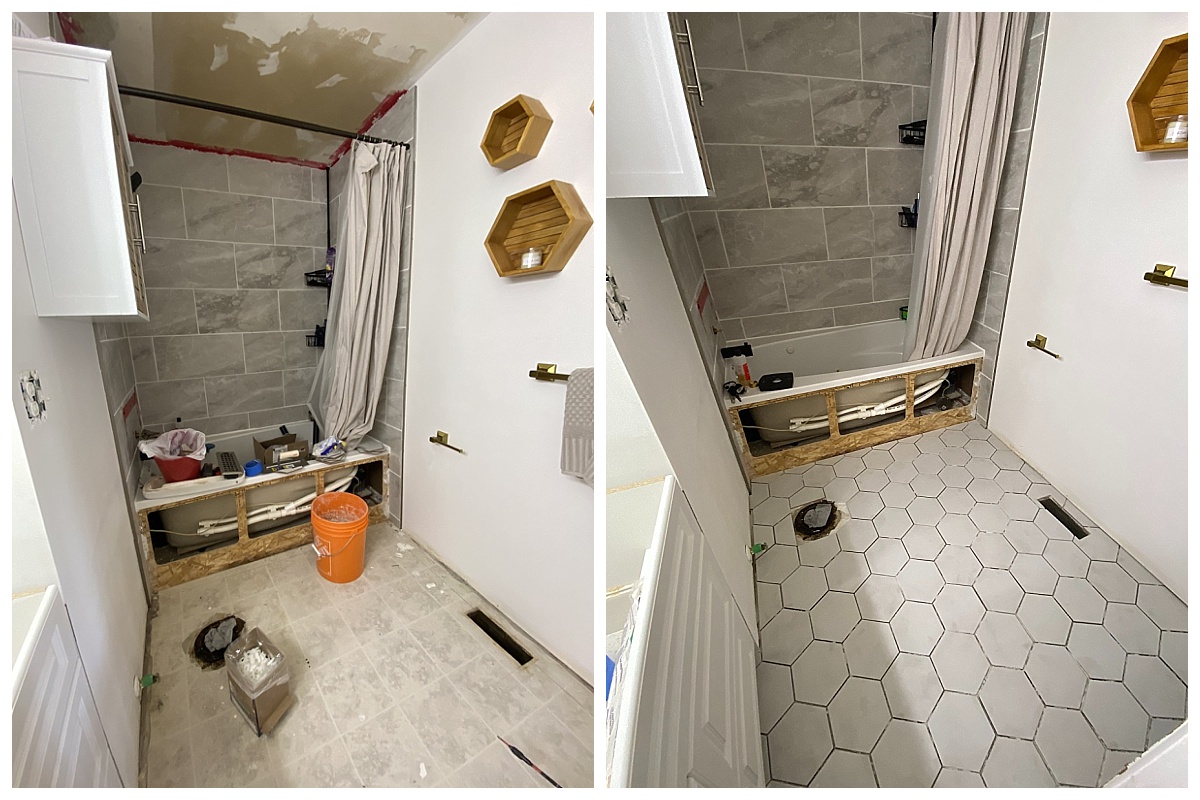
We chose white hexagon tiles for our bathroom floor, even though we heard that hexagon bathroom tiles are quite advanced for first timers!
I’ve always loved how they look—pretty yet modern—and felt that it would go nicely with the modern-boho vibe that we have going on throughout the house. We also planned to install gold accents and hexagon wood shelves in the bathroom, and felt the white hexagon floor tiles would really help bring it all together!
Tips for DIY Bathroom Floor Tiling Projects
Learning how to tile a floor for the first time? Be sure to avoid these common floor tiling mistakes! We learned some of them the hard way, so that you don’t have to.
1. Always do your research first
Like with all DIY home renovation projects, do your research first! Since you’re here, it looks like you’ve already started this process already.
But more importantly, I recommend doing your research even after asking for help when buying your supplies at the store, just to be sure!
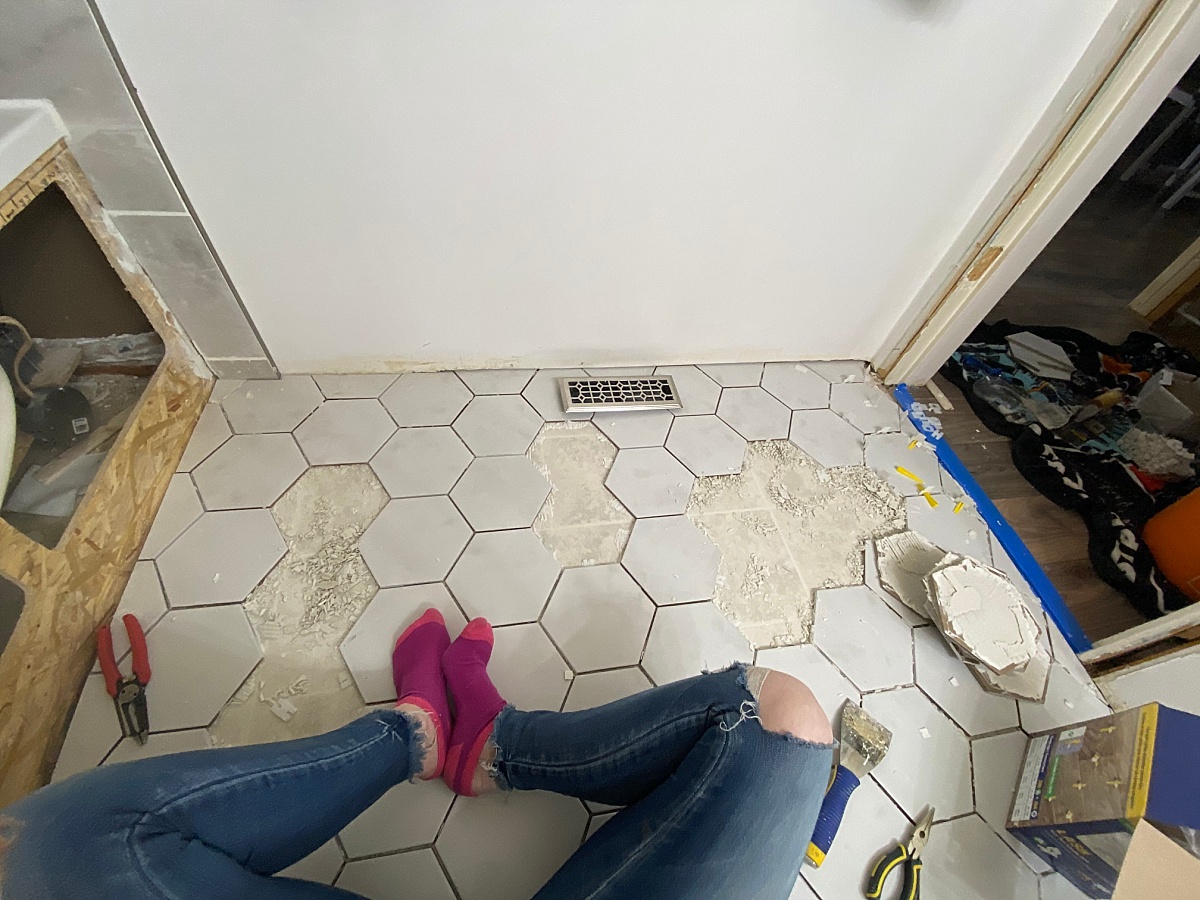 We had a little mishap here when purchasing our trowel. It turned out that the one recommended at the hardware store didn’t have deep enough lines for the project we were doing. And this brings me to my next point…
2. Make sure you get the right tile trowel
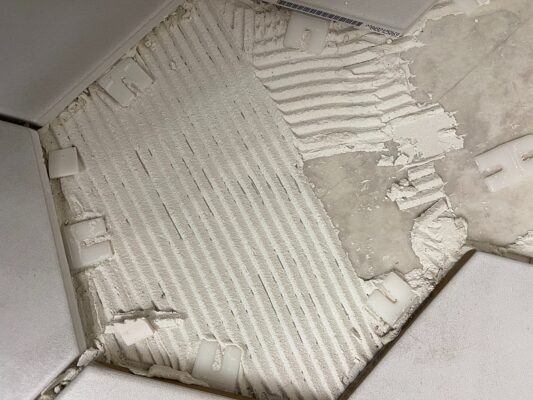
The trowel is the tool used to spread the mortar onto the surface you’re tiling. When using a trowel for tiling, it also has grooves to help scrape lines into the mortar.
The grooves in your mortar need to be the right width and depth in order for the tile to adhere properly. This creates air pockets which suction the tiles to the mortar. Without the right amount of mortar, or the right size mortar lines, the tiles won’t stick. And yep, you guessed it—this happened to us!
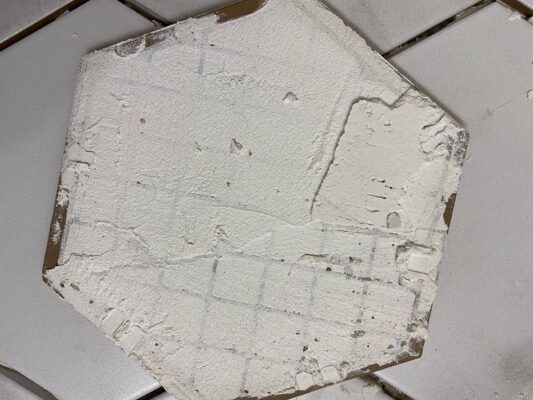
Luckily, we were able to fix it. We scraped off and replaced the old mortar, and then bought new tiles to replace the ones that popped off. Phew.
I’m thankful this happened before we grouted. There’s a good chance this would’ve been a bit of a disaster otherwise. But because we were able to simply replace the tiles, it all still turned out perfectly!
3. Get a good diamond blade
Another suggestion for your bathroom floor tiling project: invest in a high quality diamond blade.
We purchased a wet saw from Home Depot and then purchased an upgraded diamond blade. Why? The inexpensive blade we tried at first was actually chipping the tiles! Another helpful trick to avoid chipping your tiles is to cut them upside down.
4. Wait the recommended drying time before grouting your tiles
Don’t ignore this important tip! Always wait the recommended amount of drying time.
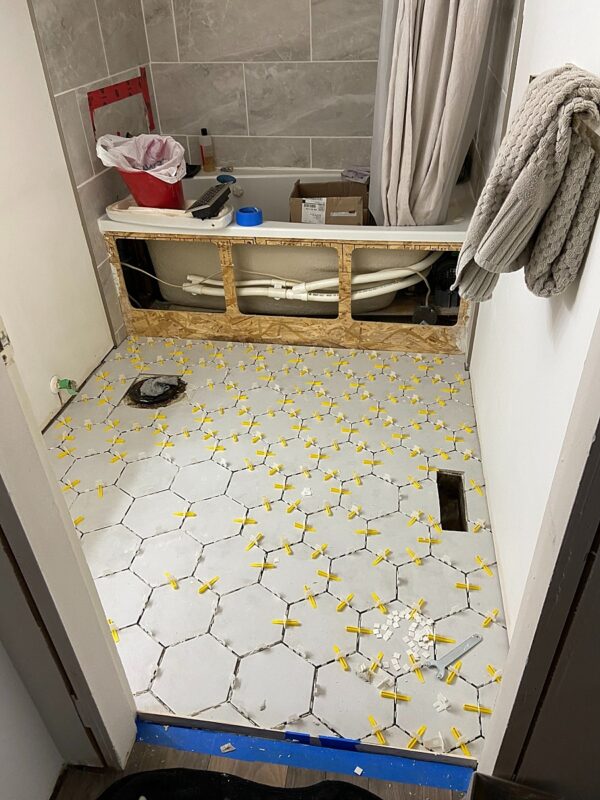
I know—it’s always tempting to do things without waiting the full amount of time. But it’s so important to be patient and wait for the product to be fully dry before grouting, especially when it comes to tile. If you don’t, it could lift and or crack your tiles, and that will end up putting you behind schedule.
5. Seal your tile floor grout lines
Last but not least, I recommend sealing your grout lines after 72 hours.
Even though I knew that sealing the grout lines was recommended, our new bathroom floor tiling looked so good that we…forgot. Woops!
My daughter ended up spilling some tea on our new tile floor, and it stained the grout. I ended up scrubbing and even removing some of the grout to get the stain out. You can bet that I sealed ASAP after that!
Happy tiling!
We are so excited to be plugging away at all these projects in our home. The Kamloops real estate market action has increased substantially since we purchased the house, and with all the updates we’ve been working on, we’re gaining equity every day.
I hope that your home update projects are just as rewarding as ours (but with a few less mistakes made along the way!). To follow along with our renovations and learn more about Kamloops, Kamloops real estate, and financial education, give me a follow on Instagram!